Tuesday, August 25, 2020

MOLESKINE SKETCHBOOK STUFF


Just some nature sketches done in my moleskine book (I have so many sketchbooks and this one was started and left behind as I purchased others).  I did not do this on site but brought the goodies inside and worked on the sketches in my little art room.  I admit it, I am never going to be a plein air sketcher or painter!


The moleskine paper is a bit warm and I prefer bright white paper, but this is find for doodles and sketches just to fill the pages.  


Pulled some of the leaves off the little branch that held the acorns.  We have a huge oak beside our house which we like but it does often sound like the squirrels are bowling on the roof when the nuts start falling and rolling :)


Thursday, August 13, 2020

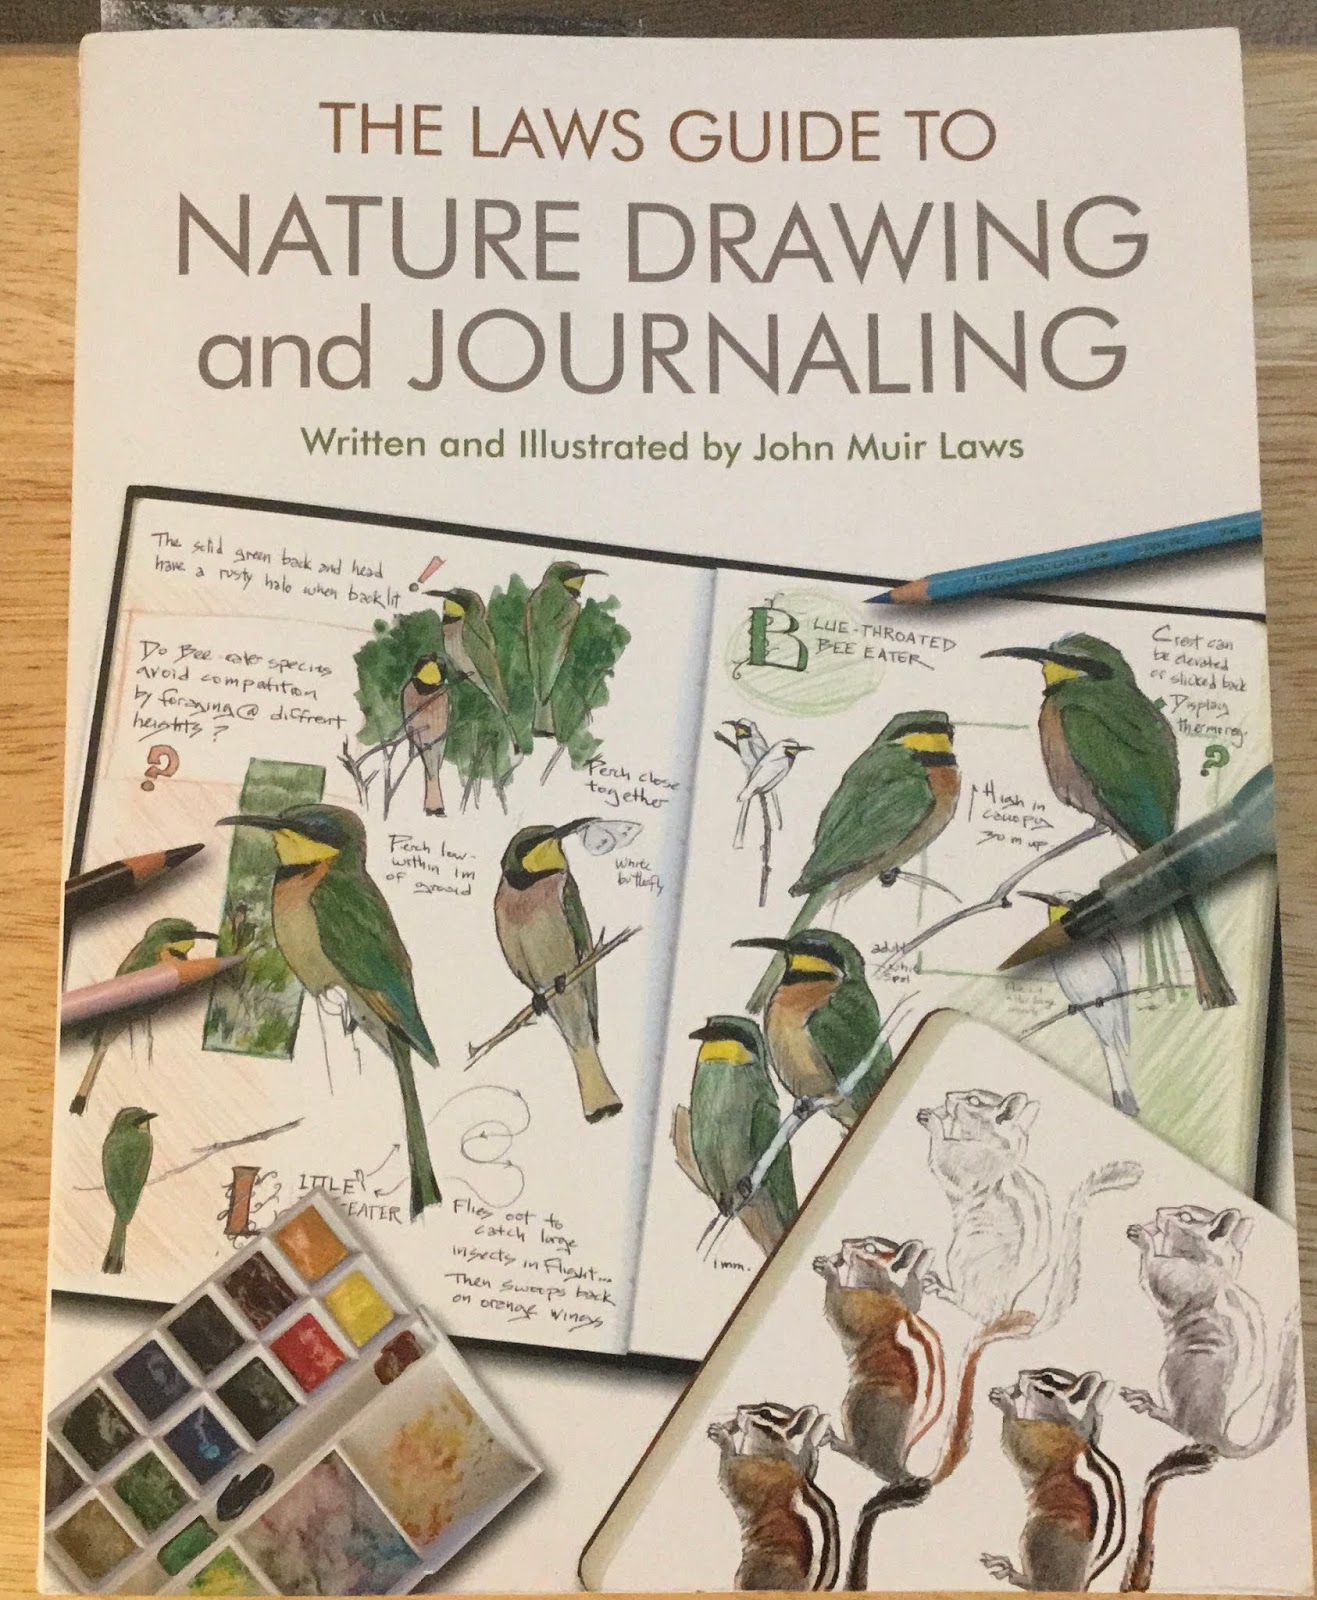
JOHN MUIR LAWS BOOKS


I can add to my instruction by going through 2 books of John’s that I’ve purchased.  I need to go slowly and try out the demos, etc.  


The pale blue pencils are great to use to start a sketch - then you can work towards the final with graphite.


I may just go out in the field - maybe - and try my new pencils and new Stillman & Birn sketchbook out.  Then again...I’m not much for sitting outside in the heat, humidity, and bugs.  We’ll see.  May just observe, take notes, and take photos to draw and paint inside later.  (We can’t all be plein air painters!


Tuesday, August 11, 2020

MORE BIRD SKETCHING


More birds from the John Muir Laws course.


The bird showing the inside bone structure is a cut-out offered to us.  The head and body are separate so you can move the head into various positions, getting the right shape when the head is at various angles.  Pretty cool.  


Sunday, August 9, 2020

BIRD SKETCHING - JOHN MUIR LAWS INSTRUCTION


Back in May, I participated in an online course (free) through California Audubon, taught by John Muir Laws.  It was an interested 3 session (spread over 3 weeks) course teaching about sketching birds.  Learned quite a bit I hope I can remember when I get out in the field (or sunroom, in my case) to watch and document the birds coming to the feeders.  


So here are a few I did while watching the lessons (I missed the first one so had to catch up later on John’s blog/site).  

I did the sketching in blue col-erase pencil so it was light enough to go over again with darker graphite later.  John uses a pale blue pencil that draftspersons use which is really more invisible after going over with graphite or other colors.  


You may be able to read the comments and instructions in the blue.  I ordered the pale blue pencil John uses because, well, why not, it might inspire me to draw more if I know that first sketch can be as rough as anything and then I can adjust it with graphite as I go over it.  Being able to cover up mistakes or errors in shapes and sizes is a good thing, right?


I have returned to the old Blogger interface but know it will be taken away after the end of August so we’ll see what I do after that.  

Thursday, August 6, 2020

HATE THE NEW BLOGGER INTERFACE

HATE THE NEW BLOGGER INTERFACE.  

TOO MANY GLITCHES TO WORK - OR CARE TO TAKE THE TIME TO POST.

MAY BE ENDING MY BLOG BECAUSE OF THIS.

Monday, August 3, 2020

GRAPE


Didn’t care for the way the previous popsicle painting was coming along so did another single ice pop - this one in grape.  Done entirely with only Mineral Violet, a delicious purple color that lifts well whether wet or dry.  

Friday, July 31, 2020

POPCICLES


Popcicles and watermelon - more to come as I slowly work a little on this one.


Wednesday, July 29, 2020

ICE ICE BABY


Trying to cool the heat!  May do a few of these.  


This one is watermelon - yum!  

Monday, July 27, 2020

FINISHED


Finished the painting.  This is on Stonehenge Aqua hotpress paper and I’m showing you the edge (which I had taped off prior to painting) to show that the paper pulls up and is rough afterwards.  That’s okay for the edge, I guess, but you wouldn’t want to try it inside the painting if you don’t want the paper to burr up!  I’ve also had this problem with using and removing masking fluid on the Stonehenge Aqua hotpress.  They should do something about that.


Saturday, July 25, 2020

PETALS - ANOTHER STEP OR TWO


Almost done with this - just the center stamen parts to do.

Thursday, July 23, 2020

NEW FLOWER - PETALS


Starting on the petals, a little at a time.  Trying for the batik look but it’s not working as well and that’s mostly because the flowers in the photo are smooth.


Tuesday, July 21, 2020

SOMETHING NEW


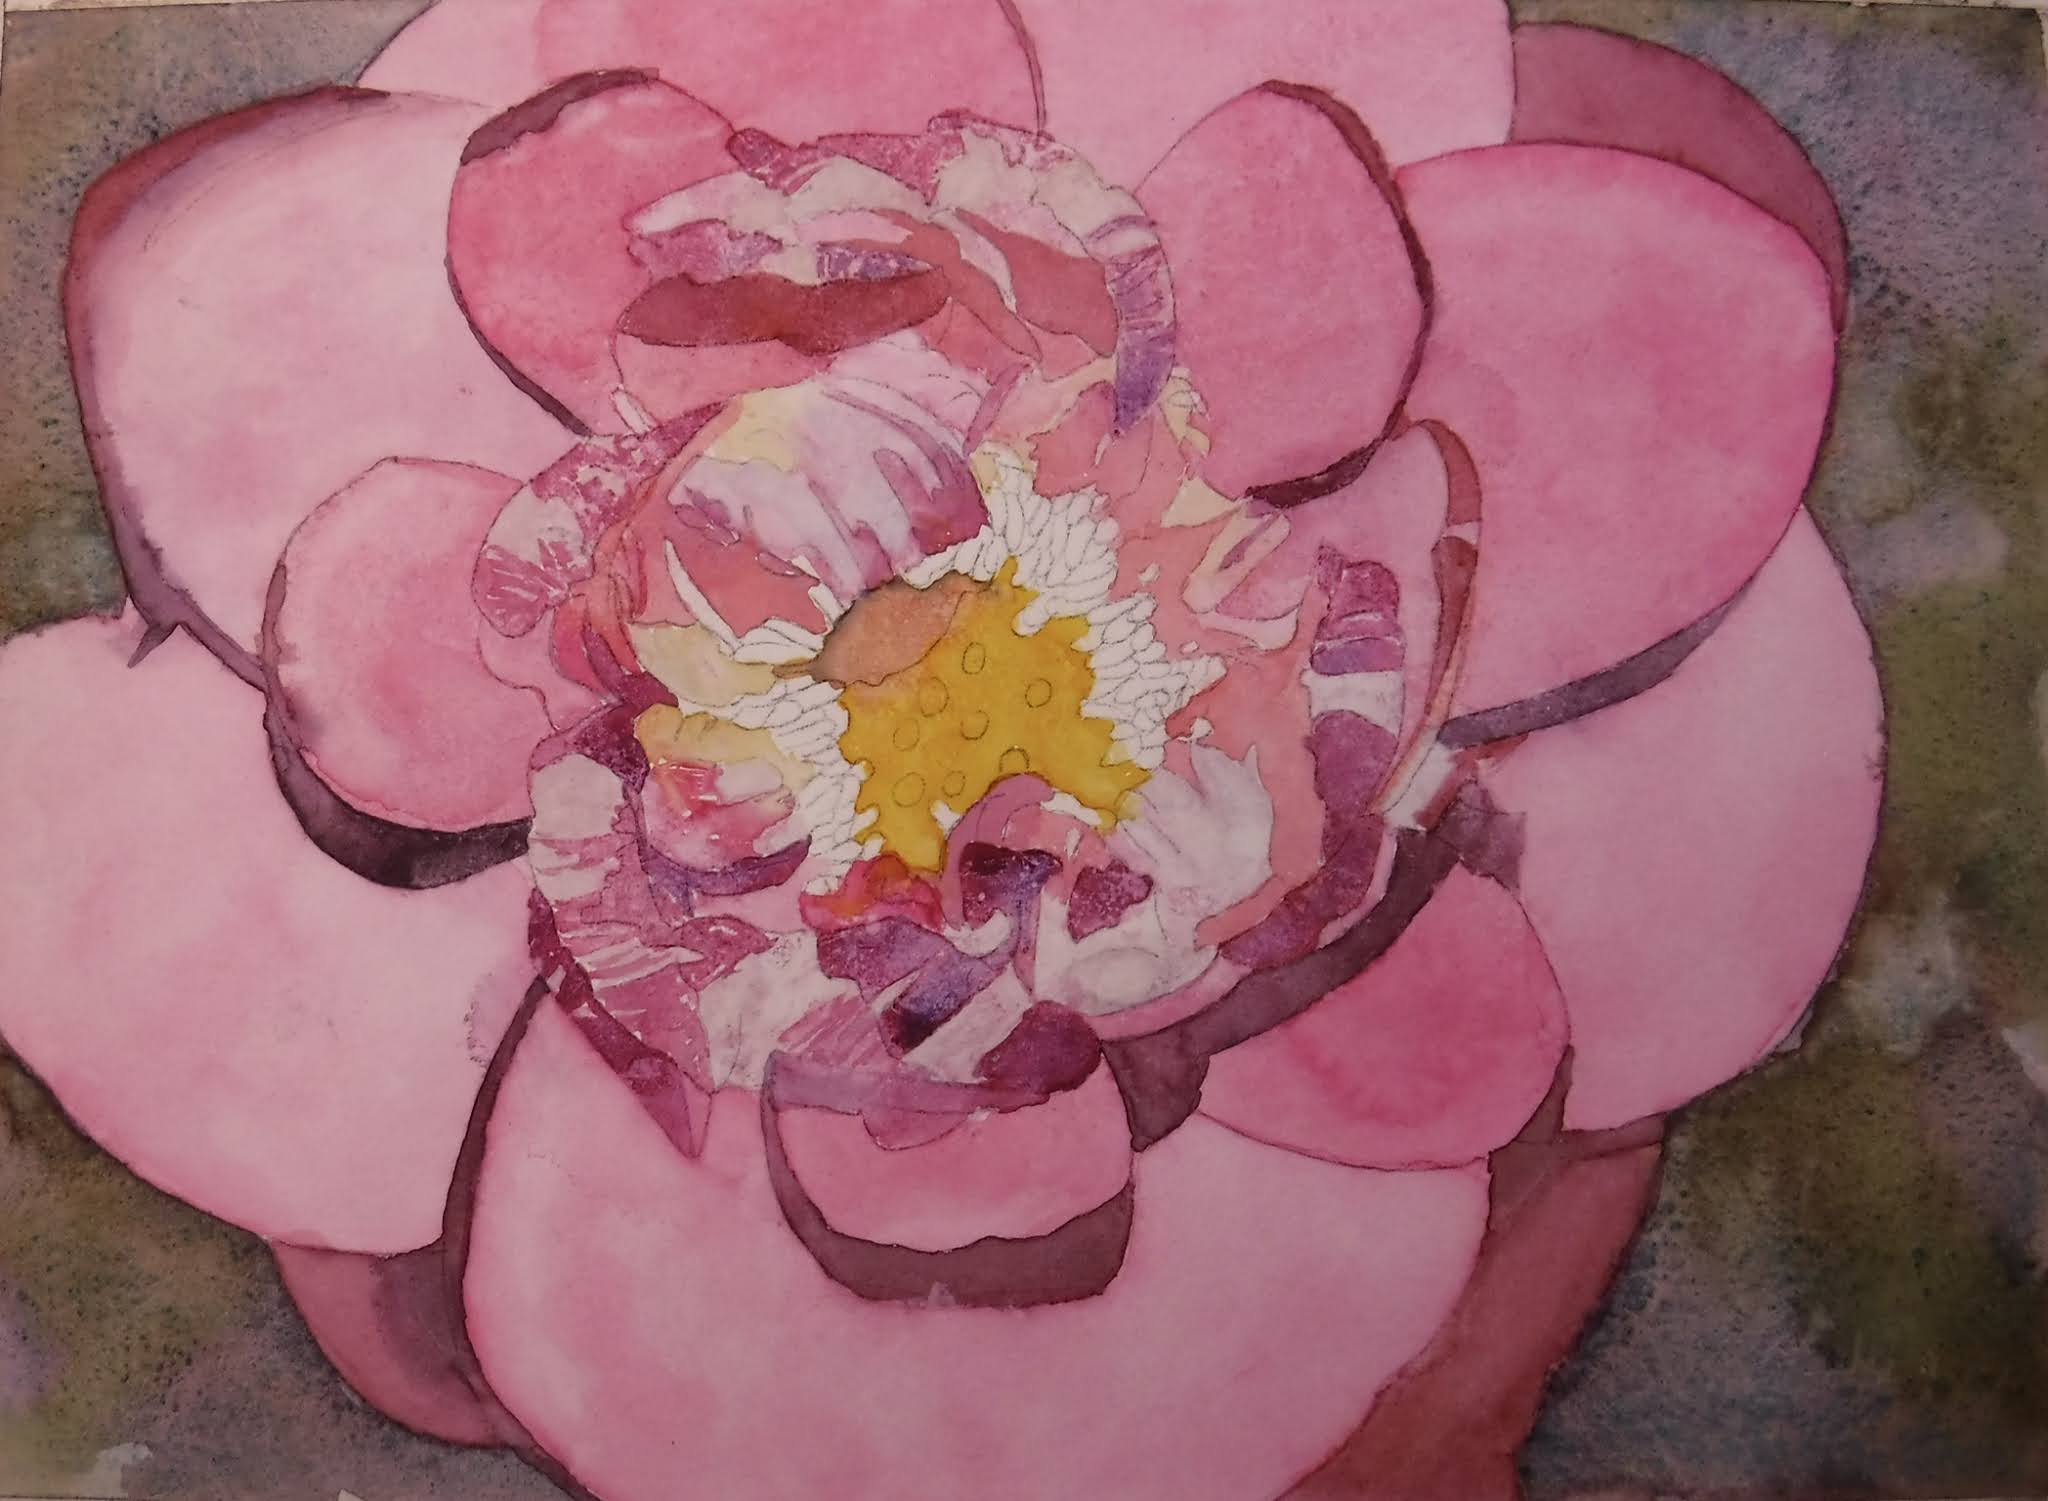
Another flower, focus on the center and outward petals.  Will give it a go on the Stonehenge Aqua hotpress paper and get some batik-look on this one, too.


Start with drawing on watercolor paper.  This time, because the flower is so complex, I did trace over the photo and then transfer that to the watercolor paper.  


Next?  Choose the colors and start from the background and outer petals.


I decided to use Daniel Smith Shadow Violet in the background but then dropped in a bit of green to give it more variety (although Shadow Violet does granulate beautifully on hotpress into 3 separate colors, I needed a bit of green back there).


Next step is starting on the petals!!  

Sunday, July 19, 2020

AND THE GREEN STEMS FINISH THE PAINTING


Finished by putting in the green stems.  


Now on to the next flowers...

Wednesday, July 15, 2020

A FEW MORE STEPS TO A BATIK ROSE


The next step, after the background has dried and you’re happy with it, go into the petals, a bit at a time and very wet and juicy, letting the colors flow and dry and drop in more plain water.  Using a hairdryer to help the drying process speeds it up and you don’t have to stand over the painting for the whole time it takes to dry naturally.

This is a slower way to paint as you have to watch and judge the drying and batik look as it goes before moving on (and you don’t want to do a large portion of anything at a time so you can control the flow better (tilting the paper, moving things, blowing air with a hairdryer, etc.).  But I’ve got nothing but time so...


Here’s how it looks as it’s dried.  I think it’s worth the extra time spent on each section to get this look and it works for this subject.  It wouldn’t work for all subjects (like portraits, etc.).  

What do you think?  Worth trying?

Remember, this is on hotpress paper which helps with the granulating and separation of colors as you keep adding water.  

Monday, July 13, 2020

ON THE WAY TO A BATIK ROSE


An old photo I had caught my eye.  It was printed on simple printer paper and had hand-written notes about colors to use, etc.  But what caught my eye was that, somewhere along the line, it had become covered in water drops, making the flower look interesting.  So...that led me to think about how to make a batik rose in watercolor.


First:
Draw the picture onto tracing paper


Second:
Trace the drawing on the watercolor paper (I’m using a block of Stonehenge Aqua hot press paper for this)


Third:
Begin with the background, getting everything very wet and letting the colors run and play


After that dries, time to go into the petals and do a little bit at a time, working very wet and letting the colors dry and put in more color, wetting even more.  The trick is to stay with the painting as the color dries.  You can use a hairdryer to hasten the process and see what you get as far as a batiked look to the petals.  

More to come!!


Saturday, July 11, 2020

FINISHED FLOWER


Finished this up by removing the masking fluid and then adding color and shaping the stamens.  Darkened and pushed back the background, too.  

Thursday, July 9, 2020

NEXT STEPS


I was going to take photos of this along the way, but got carried away.  Almost done!

Tuesday, July 7, 2020

NEW FLOWER ON ITS WAY


Started another flower.  
Fourth sheet, Fabriano Artistico.
First, mask out all the pure white areas I want to keep when I paint the colors in wet-in-wet.
Next, let that dry and go!

It should look close to the photo at the top when I’m done.


Friday, July 3, 2020

TULIP BOOM!


The only booms I want to hear or see this 4th of July weekend, but I know it will be loud into the night, as usual, in our neighborhood.  Oh, well.  Can hide in my art room and paint something else.


This is a fourth sheet Fabriano Artistico cold press paper.


Enjoy your weekend, wherever you are.

Wednesday, July 1, 2020

CHERRIES IN BOWL


Third step on the cherries.  The grisaille underpainting worked pretty well on this - but you couldn’t paint loose and wet this way.

The colors at the top are the colors I used while painting this one.  I will cut that off so the painting is almost square.  


I do not like the new Blogger - it does not work and has so many glitches when I’m trying to upload and time anything on my iPad, it’s ridiculous and makes me want to just quit Blogger since they are going to make us use the new interface after end of June.  UGH!

Monday, June 29, 2020

CHERRIES IN BOWL


Here’s the second step for the cherries using a grisaille underpainting (in Holbein neutral tint), then layering the reds over top after that under color dried completely.


The top part is left on intentionally so you can see what colors I am using throughout the painting.


Thursday, June 25, 2020

CHERRIES WITH GRISAILLE UNDERPAINTING


I’ve seen watercolors done with an underpainting of grey and thought I’d try it on these cherries.  Used Holbein neutral tint color as the underpainting for the shadow shapes.  Let that dry completely before layering over with the reds.


I left the top part in the photo to show the colors I will be using as I go along with this.  


So far, so good.  (This is a fourth sheet but is taped off to be more squared when the painting is finished.) 

Tuesday, June 23, 2020

SWEET MAGNOLIA FINISHED


Did some touching up here and there and shaping the middle, also adding some variety (a bit) in the dark leaf color.  So...done.  This is a half sheet watercolor on Fabriano Artistico paper.

Friday, June 19, 2020

SWEET MAGNOLIA - STEP 3


Almost there - just need to do more shaping and finish the center.

Wednesday, June 17, 2020

SWEET MAGNOLIA - STEP 2


Step 2 done - the green leaves, the pod, all of the background and the middle part of the flower.  All that’s left to do is the petals and some reshaping (maybe).  This is a half sheet Fabriano Artistico watercolor paper.  I haven’t painted on a half sheet for a long time so felt like getting back to something bigger than normal (have been doing fourth sheets).


The green/yellow background was done wet-in-wet.  The leaves and pod were done some wet-in-wet and some wet on dry paper to get good crisp edges for the white areas.  

Are you painting or drawing or sewing, knitting, etc.?  In these days where it seems there is nothing but bad news and more COVID-19 cases and deaths, it’s hard to be creative.  But it does help us escape into something beautiful for a while.  

Monday, June 15, 2020

SWEET MAGNOLIA - STAGE 1 BACKGROUND


Finally felt like starting another painting.  This one is a magnolia from a photo taken a year or so ago during a visit to Savannah, GA.  

These days, it’s difficult to be inspired by much, but painting does take one away for a while.  I hope we all can find an escape for a while to clear our heads and try to bring something of beauty into the world.  


I have to say, I am not thrilled with the new Blogger updated version - it’s more difficult to use and get what you want to post quickly.  Had to keep trying several times to get the underlining off!  I guess we’ll all get used to it since we will no longer have a choice soon.  


Friday, June 5, 2020

FINISHED, I THINK


The color doesn’t pop as much as the first version but it’s cleaner.

Perhaps more thought to the composition next time?


Monday, May 25, 2020

SAME FLOWER, DIFFERENT PAINTING


Instead of reworking this painting, I decided to just start another.  Looking at the original painting, I drew the flower and greenery on watercolor paper and began working wet-in-wet inside the petals and pods.  The first painting has more pop and I will add layers to the second painting so it stands out more.


Saturday, May 23, 2020

A ROSE IS STILL A ROSE


Another oldie pulled out and reworked to give it more pop.  


I am not being inspired much to do anything new and fresh.  So pulling out old paintings.  I can do better on most of them.  Some, I find, are fine as is and I put them back in the pile.  


What will my family do with all these paintings when I’m gone?


Friday, May 22, 2020

REWORKING AND PLAYING WITH PIGMENTS


Reworked this one and played with irridescent pigments (by Daniel Smith) although it doesn’t show the shine as well in the photo as in real life.  

Remember the Beatles song:
“I want to be
under the sea
in an octopus’ garden with you.”

Wednesday, May 20, 2020

RED, WHITE AND BLUE


The numbers keep climbing but we’re all behaving as if it’s all over and we’ve “won” whatever it is we were fighting (mostly each other).  It makes me so sad and frustrated to know leaders in the U.S. are so incompetent - and not only incompetent but unable to show compassion or empathy to those people who have lost loved ones.  Nope - all done - all over - we win!  :(. 


Red, White and Blue 

Sunday, May 17, 2020

AN OLDIE


Didn’t do anything else to this one, but it’s a oldie, too.  Just not finding inspiration right now so sharing some older ones I’ve gone back in to darken, shape, etc.  

Friday, May 15, 2020

ANOTHER REWORK


Reworked this one a little, too.  

Wednesday, May 13, 2020

REWORK


Reworked an oldie from years ago.  I’ve always liked this one but it was very pale before.  I like it more now.  

Thursday, May 7, 2020

ON STONEHENGE AQUA HOTPRESS


The bowl looks a bit wonky, but not too bad.  I now wish I’d made the bowl more red.  

This is a copy of a painting I saw on a magazine.  

Sunday, May 3, 2020

CANDY APPLE


A candy apple painted on Stonehenge Aqua hot press paper.