Friday, July 31, 2020

POPCICLES


Popcicles and watermelon - more to come as I slowly work a little on this one.


Wednesday, July 29, 2020

ICE ICE BABY


Trying to cool the heat!  May do a few of these.  


This one is watermelon - yum!  

Monday, July 27, 2020

FINISHED


Finished the painting.  This is on Stonehenge Aqua hotpress paper and I’m showing you the edge (which I had taped off prior to painting) to show that the paper pulls up and is rough afterwards.  That’s okay for the edge, I guess, but you wouldn’t want to try it inside the painting if you don’t want the paper to burr up!  I’ve also had this problem with using and removing masking fluid on the Stonehenge Aqua hotpress.  They should do something about that.


Saturday, July 25, 2020

PETALS - ANOTHER STEP OR TWO


Almost done with this - just the center stamen parts to do.

Thursday, July 23, 2020

NEW FLOWER - PETALS


Starting on the petals, a little at a time.  Trying for the batik look but it’s not working as well and that’s mostly because the flowers in the photo are smooth.


Tuesday, July 21, 2020

SOMETHING NEW


Another flower, focus on the center and outward petals.  Will give it a go on the Stonehenge Aqua hotpress paper and get some batik-look on this one, too.


Start with drawing on watercolor paper.  This time, because the flower is so complex, I did trace over the photo and then transfer that to the watercolor paper.  


Next?  Choose the colors and start from the background and outer petals.


I decided to use Daniel Smith Shadow Violet in the background but then dropped in a bit of green to give it more variety (although Shadow Violet does granulate beautifully on hotpress into 3 separate colors, I needed a bit of green back there).


Next step is starting on the petals!!  

Sunday, July 19, 2020

AND THE GREEN STEMS FINISH THE PAINTING


Finished by putting in the green stems.  


Now on to the next flowers...

Wednesday, July 15, 2020

A FEW MORE STEPS TO A BATIK ROSE


The next step, after the background has dried and you’re happy with it, go into the petals, a bit at a time and very wet and juicy, letting the colors flow and dry and drop in more plain water.  Using a hairdryer to help the drying process speeds it up and you don’t have to stand over the painting for the whole time it takes to dry naturally.

This is a slower way to paint as you have to watch and judge the drying and batik look as it goes before moving on (and you don’t want to do a large portion of anything at a time so you can control the flow better (tilting the paper, moving things, blowing air with a hairdryer, etc.).  But I’ve got nothing but time so...


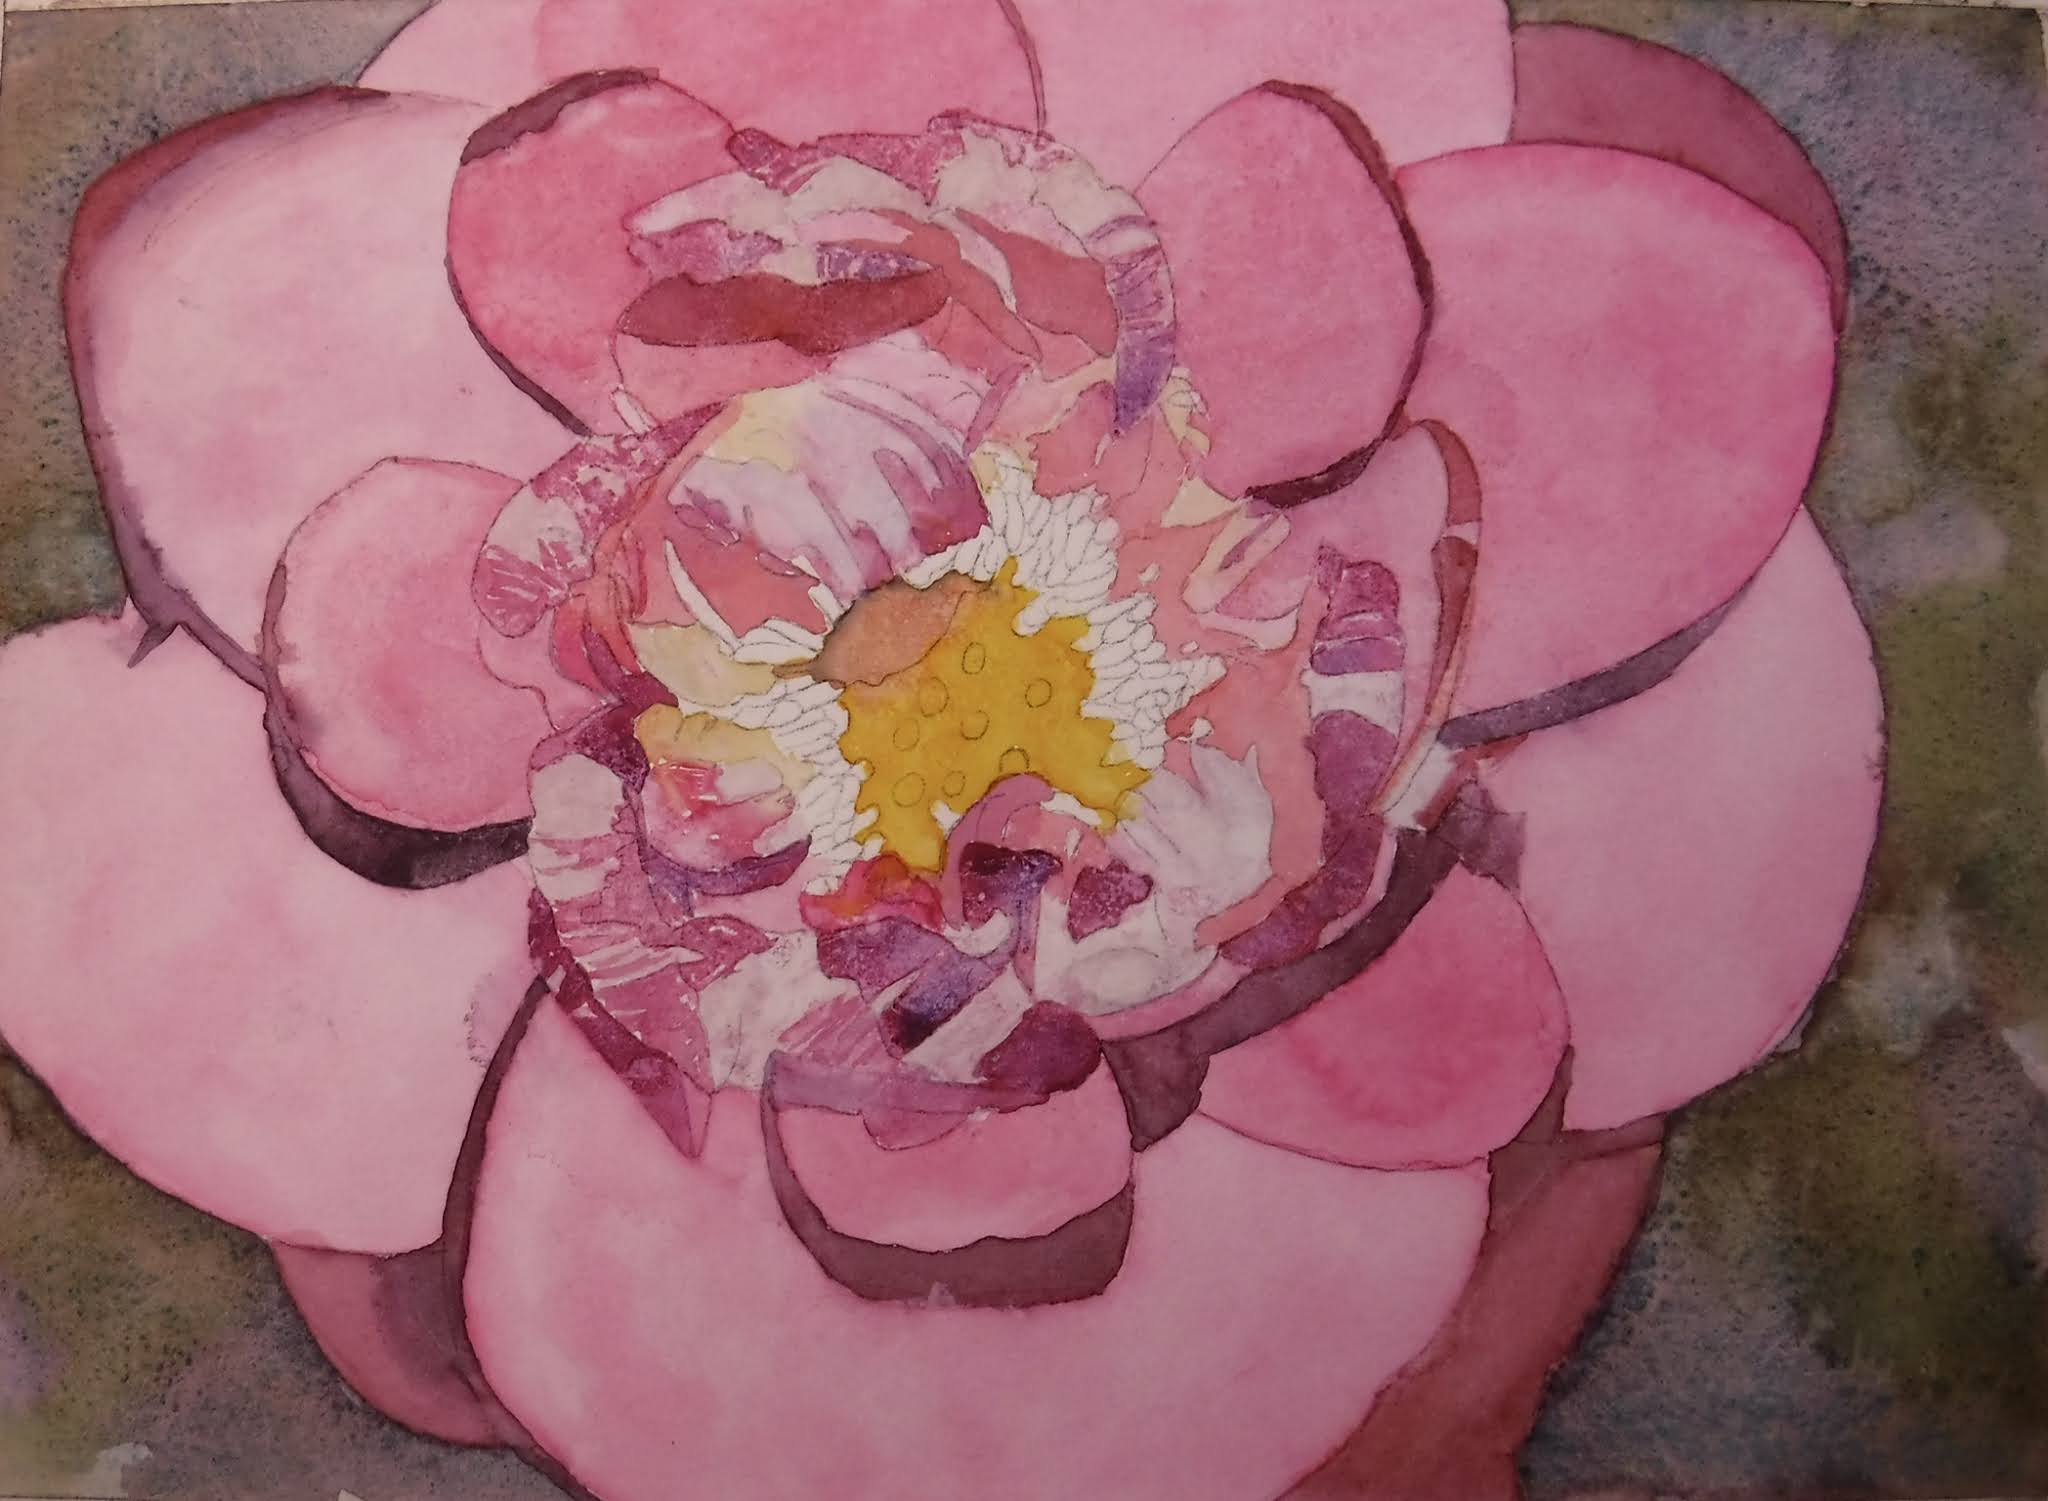
Here’s how it looks as it’s dried.  I think it’s worth the extra time spent on each section to get this look and it works for this subject.  It wouldn’t work for all subjects (like portraits, etc.).  

What do you think?  Worth trying?

Remember, this is on hotpress paper which helps with the granulating and separation of colors as you keep adding water.  

Monday, July 13, 2020

ON THE WAY TO A BATIK ROSE


An old photo I had caught my eye.  It was printed on simple printer paper and had hand-written notes about colors to use, etc.  But what caught my eye was that, somewhere along the line, it had become covered in water drops, making the flower look interesting.  So...that led me to think about how to make a batik rose in watercolor.


First:
Draw the picture onto tracing paper


Second:
Trace the drawing on the watercolor paper (I’m using a block of Stonehenge Aqua hot press paper for this)


Third:
Begin with the background, getting everything very wet and letting the colors run and play


After that dries, time to go into the petals and do a little bit at a time, working very wet and letting the colors dry and put in more color, wetting even more.  The trick is to stay with the painting as the color dries.  You can use a hairdryer to hasten the process and see what you get as far as a batiked look to the petals.  

More to come!!


Saturday, July 11, 2020

FINISHED FLOWER


Finished this up by removing the masking fluid and then adding color and shaping the stamens.  Darkened and pushed back the background, too.  

Thursday, July 9, 2020

NEXT STEPS


I was going to take photos of this along the way, but got carried away.  Almost done!

Tuesday, July 7, 2020

NEW FLOWER ON ITS WAY


Started another flower.  
Fourth sheet, Fabriano Artistico.
First, mask out all the pure white areas I want to keep when I paint the colors in wet-in-wet.
Next, let that dry and go!

It should look close to the photo at the top when I’m done.


Friday, July 3, 2020

TULIP BOOM!


The only booms I want to hear or see this 4th of July weekend, but I know it will be loud into the night, as usual, in our neighborhood.  Oh, well.  Can hide in my art room and paint something else.


This is a fourth sheet Fabriano Artistico cold press paper.


Enjoy your weekend, wherever you are.

Wednesday, July 1, 2020

CHERRIES IN BOWL


Third step on the cherries.  The grisaille underpainting worked pretty well on this - but you couldn’t paint loose and wet this way.

The colors at the top are the colors I used while painting this one.  I will cut that off so the painting is almost square.  


I do not like the new Blogger - it does not work and has so many glitches when I’m trying to upload and time anything on my iPad, it’s ridiculous and makes me want to just quit Blogger since they are going to make us use the new interface after end of June.  UGH!